Description
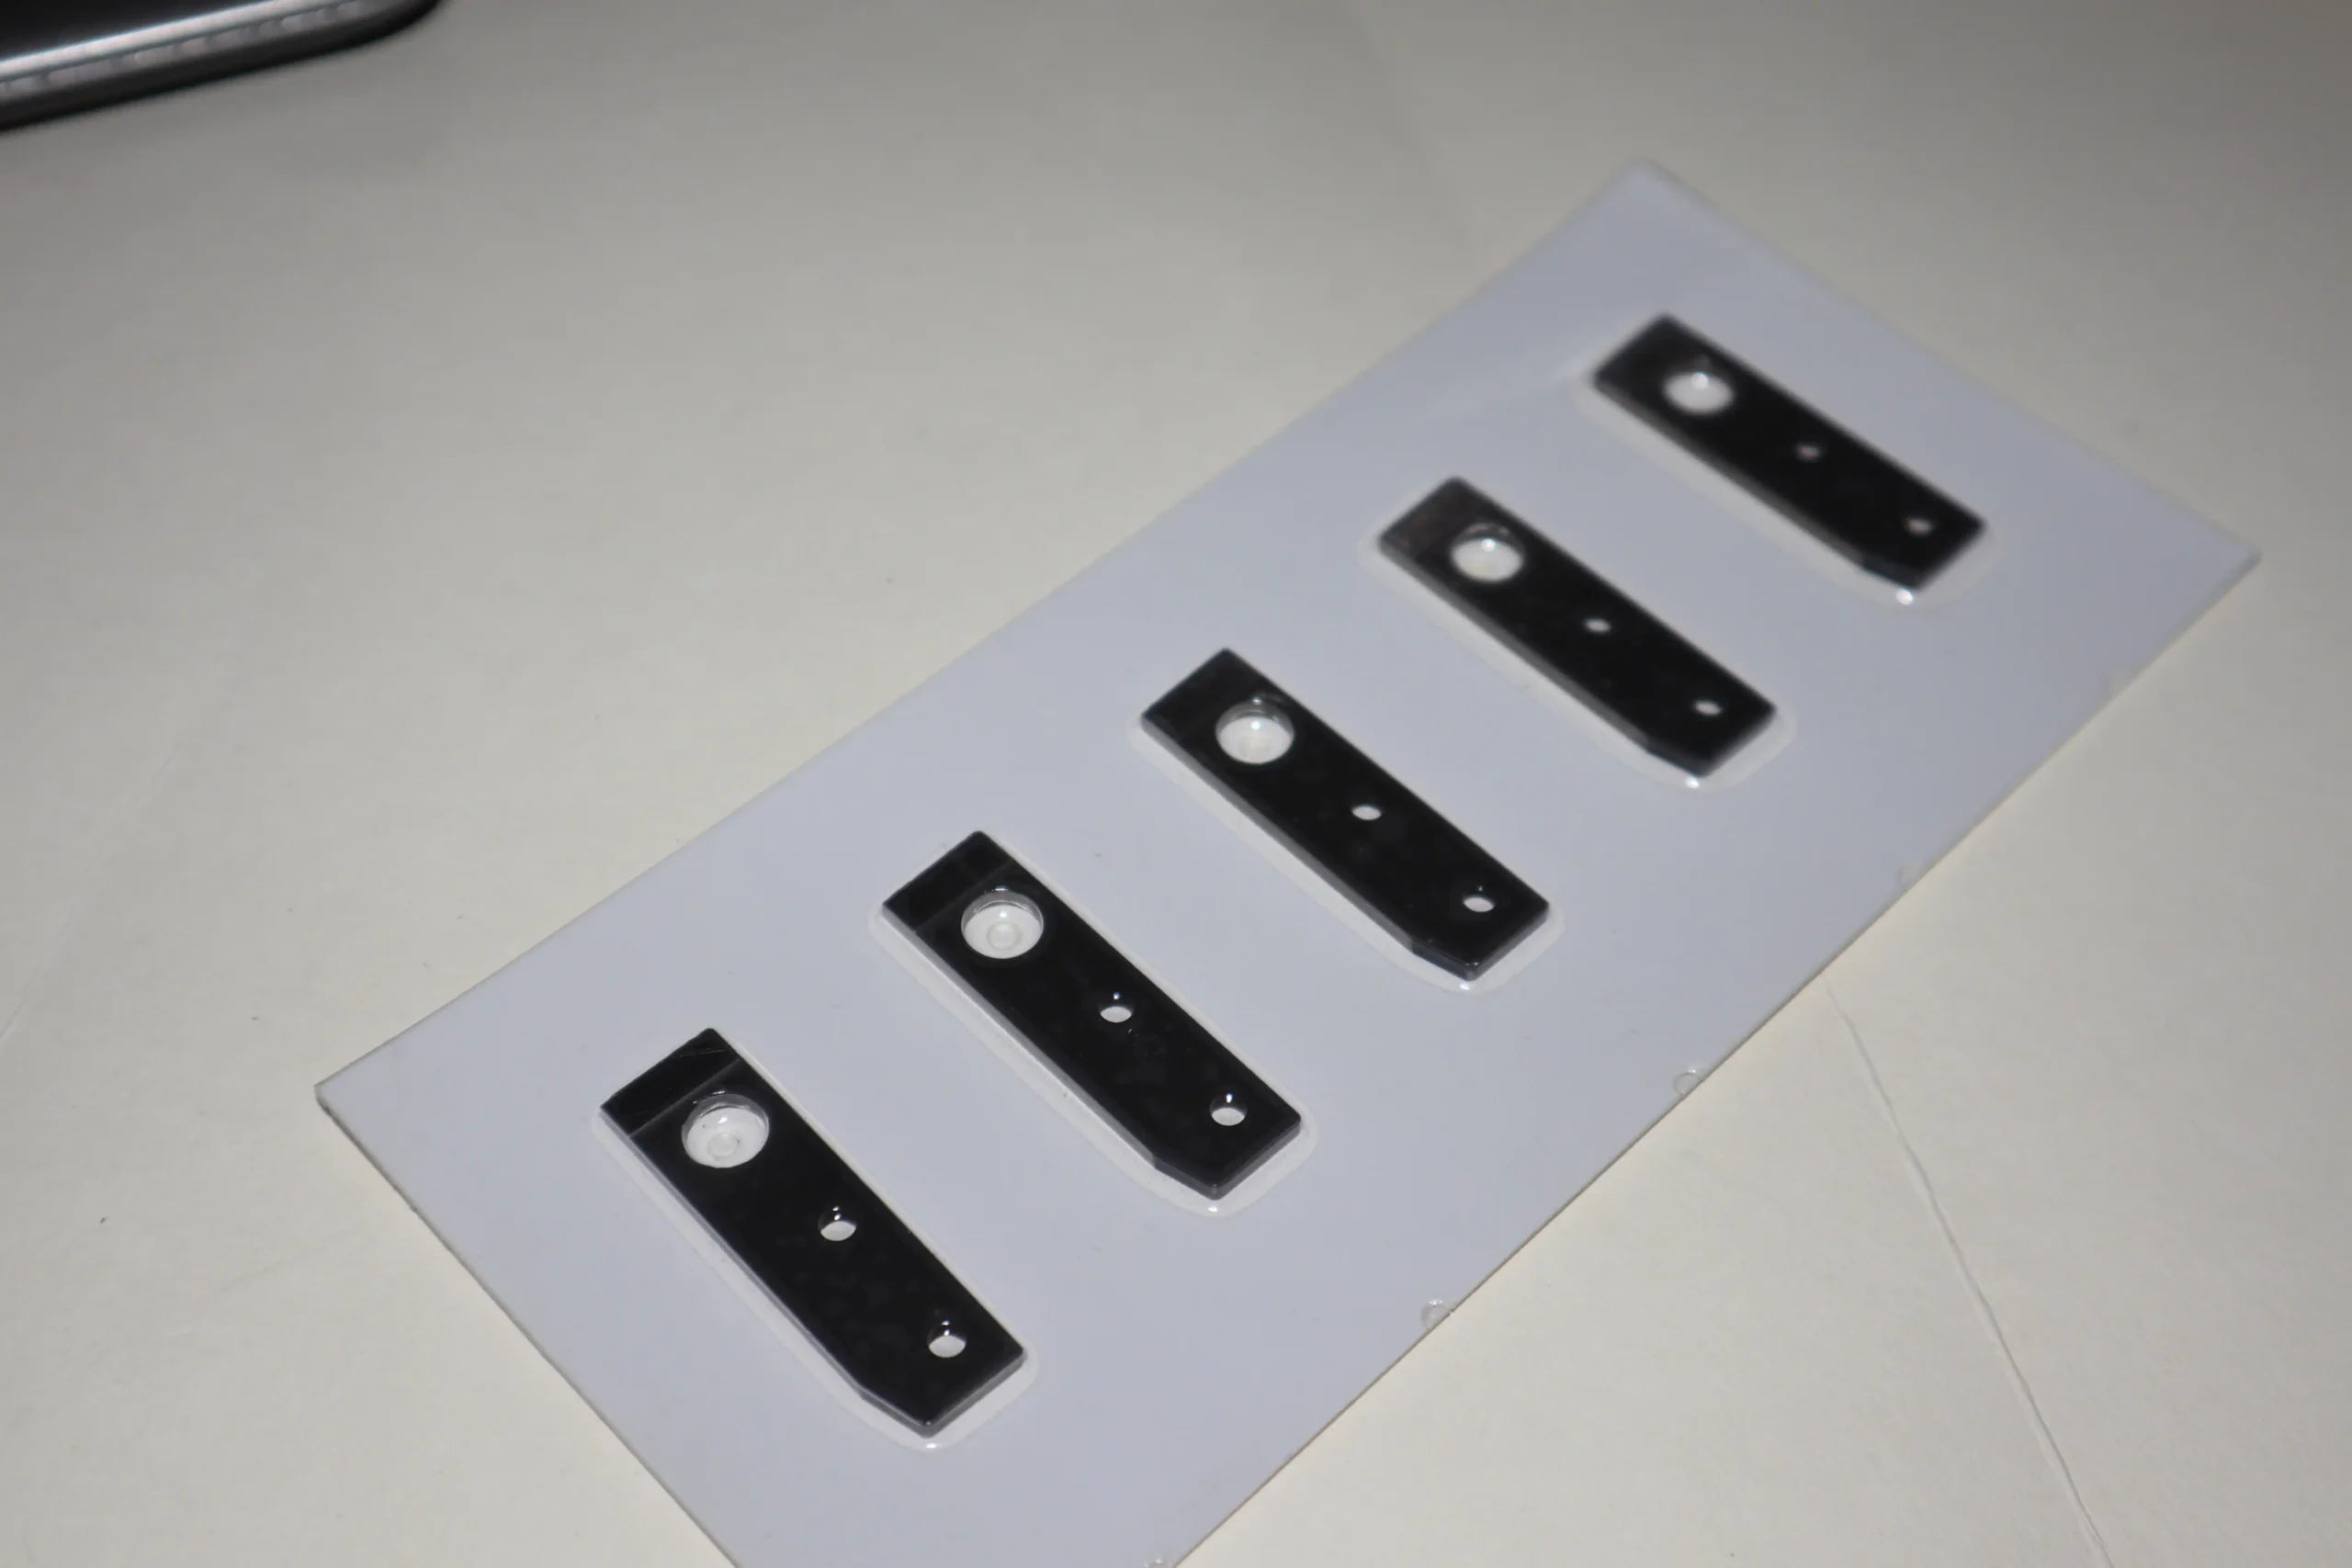
- GAMMA Cutter Right Side BE306533: This part is the right side component of the GAMMA cutter, designed to ensure smooth and precise cutting operations. It typically houses critical mechanisms and supports the cutting blade, contributing to the overall stability and performance of the machine.
- GAMMA Cutter Left Side BA306532: The left side component of the GAMMA cutter, this part complements the right side assembly. It plays a crucial role in maintaining alignment and providing support to the cutting mechanisms, ensuring balanced and accurate cutting.
These parts are essential for the optimal functioning of the GAMMA cutter, helping to maintain precision and durability.
The GAMMA cutter is a specialized cutting tool often used in industrial applications. Below are the general specifications, installation guidelines, and purchasing options:
What are the specifications of the GAMMA cutter?
Specifications of the GAMMA Cutter:
- Cutting Capacity: Typically designed to handle a range of materials such as metals, textiles, and plastics.
- Power Supply: Often powered by a three-phase AC supply with specific voltage and frequency depending on the model.
- Cutting Speed: Variable speed options are available, ranging from 500 to 3,000 RPM.
- Blade Type: High-speed steel (HSS) or carbide-tipped blades are commonly used.
- Control System: Equipped with digital controls for precision cutting, including programmable settings.
- Dimensions: Varies depending on the model, usually compact but robust for industrial use.
- Safety Features: Includes emergency stop, blade guards, and safety interlocks.
How to install the GAMMA cutter?
Installation of the GAMMA Cutter:
- Site Preparation: Ensure the installation site is stable and has sufficient space for operation and maintenance.
- Electrical Connections: Connect the cutter to the appropriate power supply as specified in the manual. Ensure all connections comply with local electrical codes.
- Mounting: Secure the cutter on a stable platform or stand. Some models may require bolting down for added stability.
- Blade Installation: Carefully install the cutting blade as per the manufacturer’s instructions. Ensure it is securely fastened and aligned.
- Calibration: Perform initial calibration of the cutter’s settings to match your specific cutting requirements.
- Test Run: After installation, run a test operation to ensure everything is functioning correctly and safely.


Reviews
There are no reviews yet.